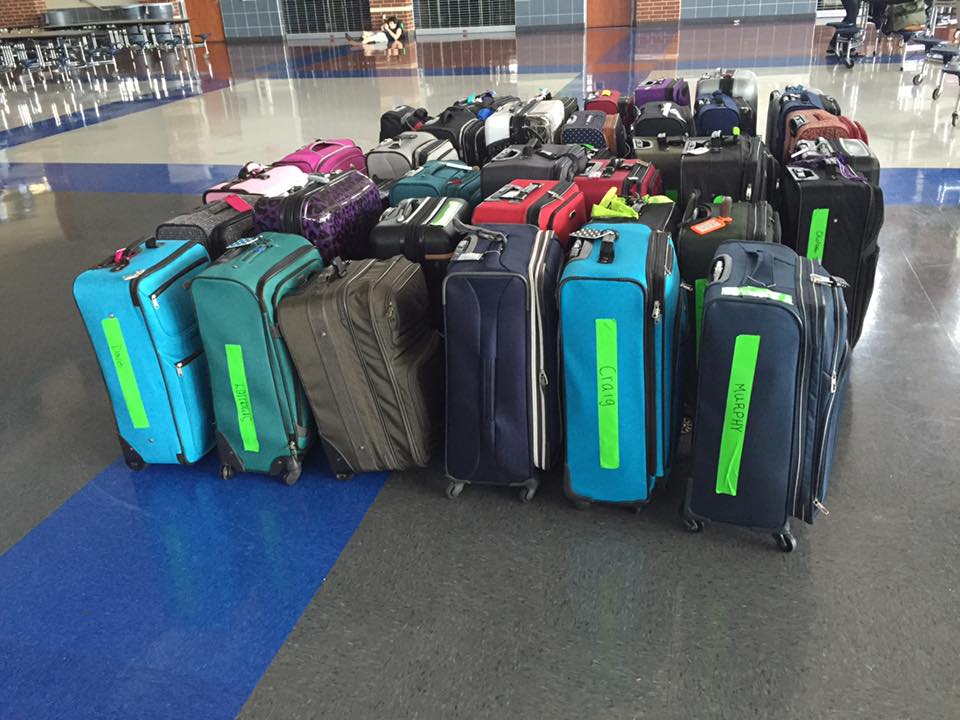
Departure Day
There are a few important details that you will need to take care of on departure day to get your tour off on the right foot. Depending on your group size and flight times, your departure day might start early. Have everything organized and ready to go to get our group rounded up and ready to travel.
First things first...
- Carefully check your flight itinerary for what is known as split flights. The larger your group, the higher the possibility that you will not all be on the same flight. Don't panic, this is very common. Your TC has probably already talked with you about this, but it never hurts to double check. Just be sure that you have a responsible adult on the flight that you are not traveling on, and be sure to give them a copy of the e-ticket and confirmation numbers.
- Decide how you will get to the airport. Carpool? Airport shuttle? Everyone responsible for getting themselves to the airport? However you choose to do it, just make sure that everyone knows the game plan (and knows how to get to the airport if they are responsible for their own transportation). Personally, I have everyone chip in to cover the cost of an airport shuttle from my school to the airport. This is much less stressful for me at the airport, we all arrive at the same time (with no forgotten passports) and go through security together. My town is 45 minutes from the airport, and most of the parents are happy to pay $10 to cover their part of the shuttle instead of taking off work and driving 1.5 hours round trip.
- You need to be at the airport three (3) hours prior to an international flight. When traveling with a group, you need more time for everyone to check-in, clear security and make it to the gate in plenty of time to board the plane.
|
Pre check-in check-in.
Yep! That's right, I have my group check in with me, before we check in at the airport. This may seem to be a little much, but I promise that covering all your bases before you depart will make departure day and the rest of your tour go very smoothly. So what happens at this pre-check in check in?
|
Airport Tips
There will be at least one (if not more) travelers in my group who have never been in an airport or on a plane before. What might seem like common sense to you and me, doesn't necessarily mean that it is common to all of our travelers. Be patient, and explain each step for them.
There will be at least one (if not more) travelers in my group who have never been in an airport or on a plane before. What might seem like common sense to you and me, doesn't necessarily mean that it is common to all of our travelers. Be patient, and explain each step for them.
- At the airport, I always go first check in and security, while one of my chaperons is designated as the last person in line. That way I know that everyone made it through security and we have everyone.
- The first step is to check in. I always let an airline representative know that I have a large group checking in, and ask if they would prefer for us to use the kiosk or the desk. Whatever their answer is, I go first, and then assist the students as they check in. This is especially important at the kiosk. TIP: make sure that you have your flight confirmation number handy. This will be provided in your final departure e-mail from your Tour Consultant.
- When everyone has a boarding pass, we head off to security as a group. I go first and then help the students with all the things that must come out of the bag and be scanned. The inexperienced ones will need help, because this is really foreign to them.
- When everyone makes it through security, I breathe a sigh of relief, and then make sure that they all know what gate we will be departing from before I send them all off to grab a bite to eat before the flight.
- Warn your students about what the airport considers "unattended baggage." Sometimes the students can be careless with their bags, or just assume that someone else is watching it. Remind them to keep their carry-on with them at all times in the airport!
- You might also have to explain to the students that all of the seats are preassigned, and they may switch seats only with someone else in our group. They sometimes have a hard time with this, just thinking that an open seat is free for the taking.
Arrival
Yay! You made it! Here are the basics about your arrival:
Yay! You made it! Here are the basics about your arrival:
- Remind the students to not leave anything behind on the plane (have them double-check those seat back pockets!)
- After deplaning, you will first go to PASSPORT CONTROL. This is where you might be asked a few questions by a passport agent, and then get your passport stamped.
- You will then go to BAGGAGE CLAIM. I always have my group wait in baggage claim until I know that everyone has their bag, and then we proceed to CUSTOMS. If anyone is missing a bag, immediately find an airline representative, and report the bag as missing. Be sure to ask them when they think the bag will arrive, and how it will be returned to the group. (In this situation, it is helpful to have your hotel list on hand.)
- After customs, you need to look for exits signs to the Arrivals Hall. This is where your Tour Director will meet you. Look for the EF Sign!
- Now you can really breathe a sigh of relief, the hardest part is over!


